30 Nov 2014 - Poor Woodworker Track Saw
 “Breaking Down a Full Sheet of Plywood” Use an inexpensive homemade jig.
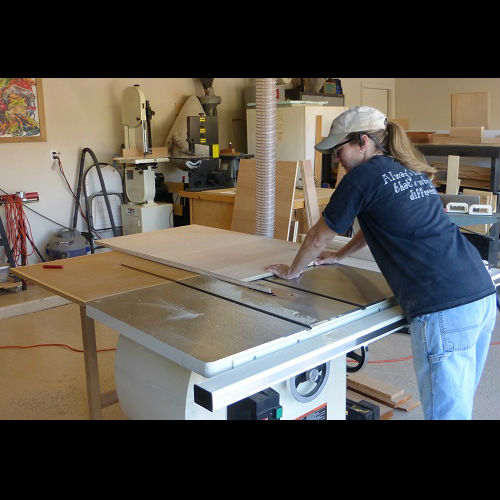
It might seem like something that shouldn't be that hard, but manipulating the large panel that can weigh over sixty pounds provides some interesting challenges. Most of us work in our shops alone, so just moving it around can be difficult. I know some woodworkers who take the whole sheet to the table saw, but I don't feel comfortable doing that, nor would I recommend it. First, it's dangerous to try to manipulate a sheet of plywood through the table saw even with help, but also it's difficult to keep such a large piece lined up and straight.
In a perfect world where money is not an issue, I would recommend everyone pick up a high-end track saw. But so rarely do we live in that world; even the least expensive track saw costs in excess of $200. If you are interested in a track saw in that price range, The Wood Whisperer does an excellent review of the Grizzly Track Saw.
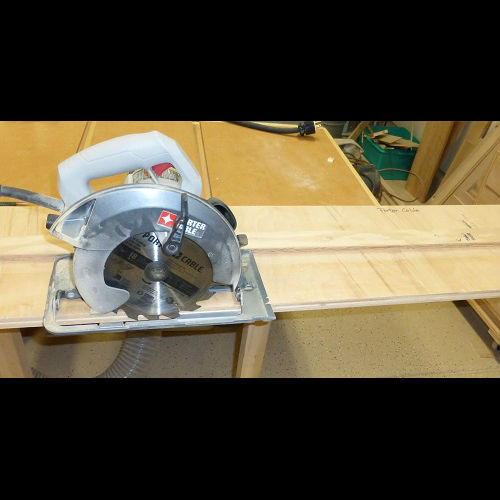
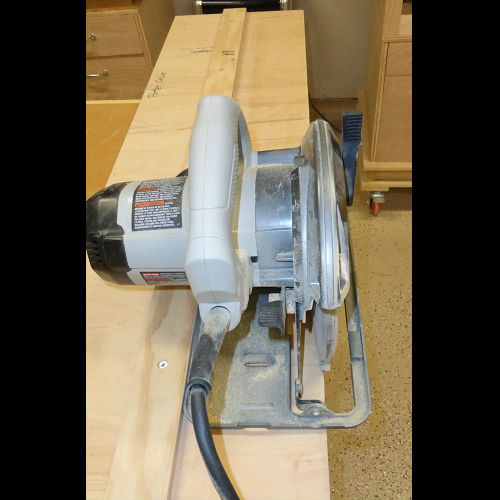
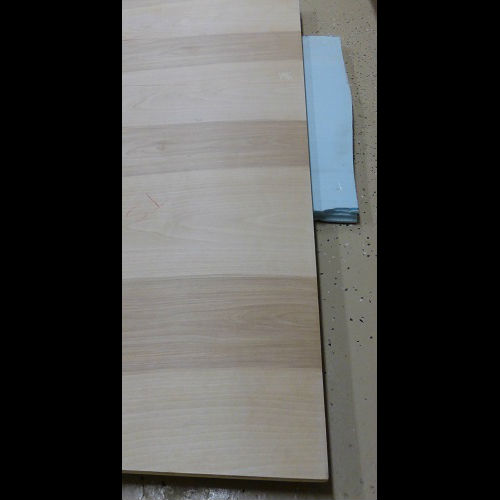
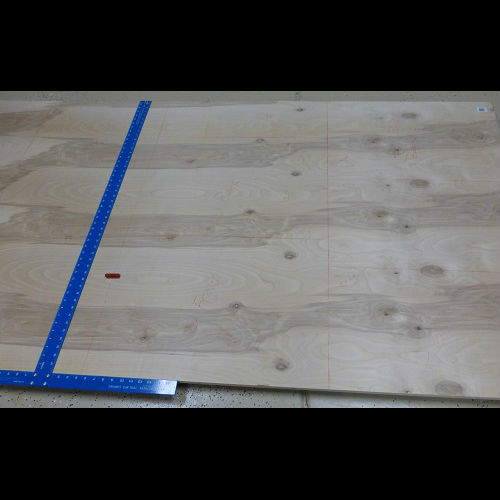
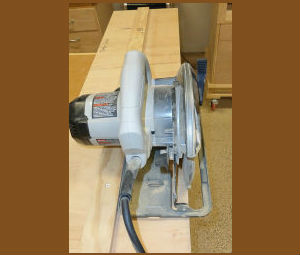
If you're looking for an even less expensive solution, consider the method I've settled on after years of trying different ways to make this process easier and safer. I use a jig I built specifically for my circular saw (see image 1, 2, 3 below), and I cut the plywood on the floor to avoid having to move it around. I lay down a 1" thick piece of foam insulation on my workshop floor, and I place my plywood down on top of it (image 4). First thing I do is get out my chalk or crayon and mark out all the pieces. This way I know which cut to make first to get the absolute most out of my sheet of plywood (image 5). If the first cut(s) require a rip cut down the entire length of the board, I have to resort to a commercial guide I picked up at a home store. It's not ideal, but it works for a rough cut. As soon as my 4' long shop-made jig will do the trick, I switch over to it so the cuts are more accurate and easier to line up (image 6, 7). After all the pieces are cut out slightly oversized, then I go to the table saw and make sure the pieces are squared up and accurately sized. (image 8)
Building the guide: I made mine 4' long--the width of some leftover ¾" birch plywood, but if you have a full sheet to use and want to make yours up to 8' long to support full lenght cuts (and you have the storage space), I would highly recommend that. First, cut the base piece about double the width of the base of your circular saw. Then cut a guide strip from ½" plywood (if you use ¾" the motor/frame of your circular saw will hit the guide and cause the cut to be angled) about 2-3" wide and the same length as your ¾" base. Place and screw the guide to the base so that there is about a ½" or so to be removed from the base when you run the saw down the guide for the first time. This will create a perfectly accurate cut to use as a guide for future cuts. Once the guide is set up square and straight, rub on some wax so the circular saw will glide across it with ease.