Published: 06 February 2016 Hits: 6529
Secretary Desk
Like most Craftsman style furniture where the legs are an important feature, the legs are the best place to begin. Because I made my desk smaller than the original plan I also made the legs a little narrower. The pattern called for a 2 ¼” square leg requiring the glue up from three pieces of ¾” stock, but I made mine 1 ¾” so I could use 8/4 stock.
Once I had the wood squared up and cut to the correct width, I set up my miter gauge to ensure they were all cut to the exact length. I stuck with the recommended length, but this is where custom building is at its best. If you like a tall or short than standard desk you can adjust the legs to best suit your style. Cutting the mortises was next. I used my handmade mortising machine for two of the three desks I made and I used the Festool Domino for the final project. I found that my mortising machine has a few shortfalls, but it got the job done—just not as fast as the Domino. It is not cheap and put off making the purchase for a long time, but now I believe it is worth every penny.
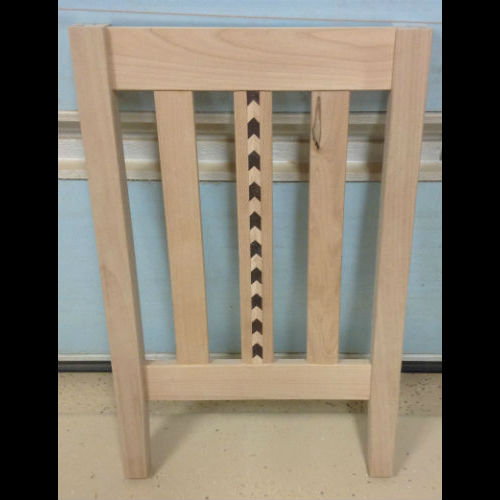
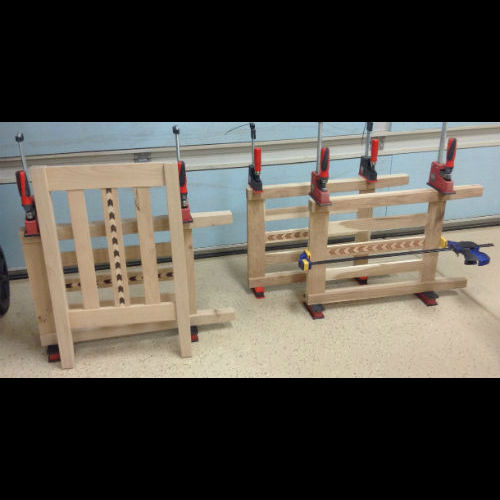
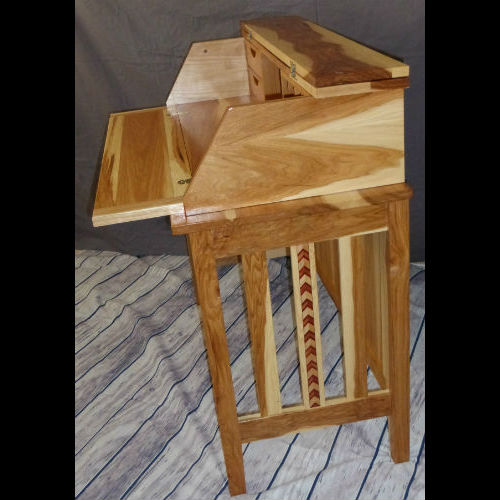
From there I put a tapered feature on the end of the legs and started cutting out rails and slats. In the center slat I customized it with a FroggyBuilder inlay. I put the back together with a simple frame and panel and cut all the tenons with a dado blade in the table saw. Then the base was ready for glue up. Since the top has two tops I selected my best wood and jointed up some matched pieces for the tops and then planed and cut them to size.
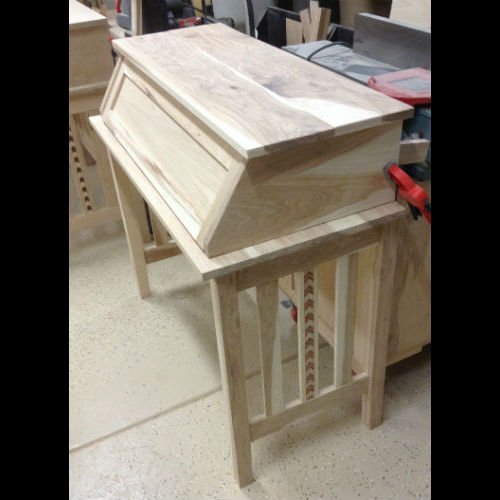
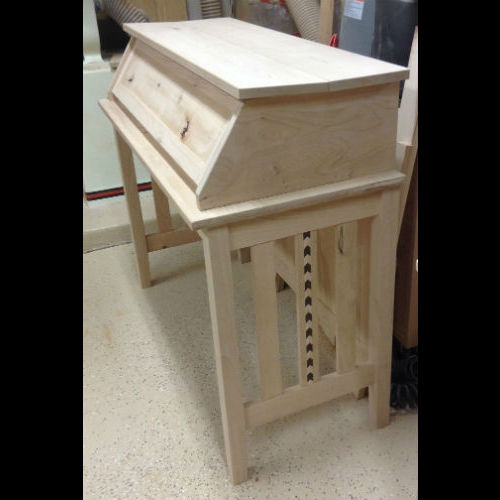
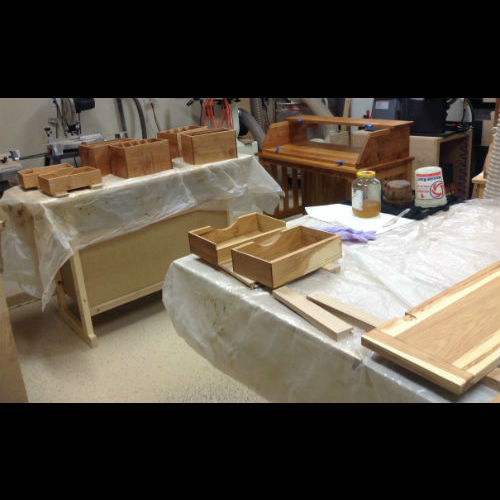
The case sides and the case bottom require some stopped rabbets, but after a quick set-up on the router table it was pretty straight forward. It just required a little clean up with the chisel to square up the edge. The hardest part of the project was installing the Soss hinges that allow the top lid to fold over on to the upper case lid. The hinges come with a template to help with the process but getting it drilled out perfectly is critical to a functioning lid. The bottom lid requires another frame and panel cut so a second ¼” piece of stoke can be placed on the inside the frame to even it out door panel to write on.
Finally creating the drawer and cubby units required a few rabbets and dados and a lot of fine tuning to get them to slide well. I used a little finishing wax to help the wood on wood contact slide easier. I finished everything with about five coats of my FroggyBuilder wiping varnish mix.